Today we have Irene from Serger Pepper! She has TONS of fun projects and patterns! Make sure to check out her blog!!
______________________________________________________
Hi Chelsea and GYCT's lovely reader, I'm SO pleased to be here, thanks for inviting me one more time!
As some of you already knows, I'm a frugal mum and sewist, that try to sew clothes that are useful and not (only) nice to see. My other goal is not to waste money (because we don't have that much!), so I'm a Refashionista inside (and outside as well)! With this in mind, the sewing project I'm here to share is a
Black Cat Hat
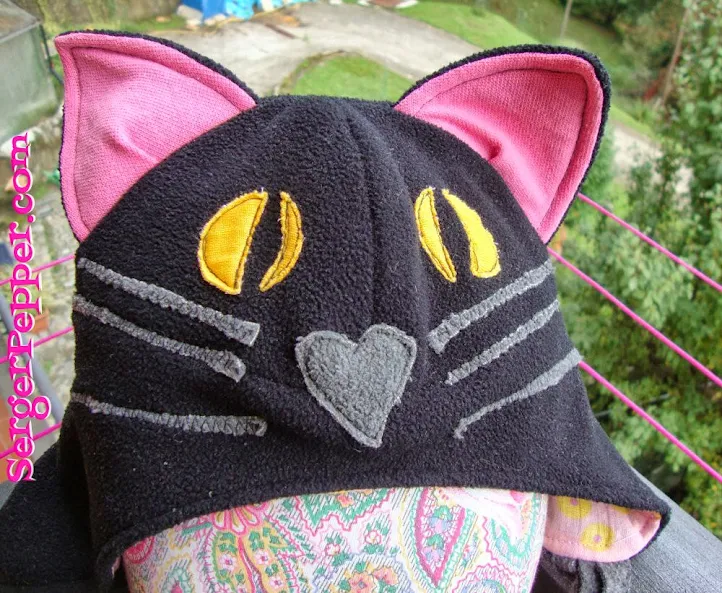
that you can use for Halloween as part of a costume, or you can use it only to keep head warm with an eye to kid's style. Here is my tutorial and there's a FREE pattern for you to download if you have a 4-5 years old son/daughter/nephew/neighbour you want to gift with a Black Cat Hat!
PS: I took some old clothes and bed sheets (the same I used in my KCW summer for the t-shirt dress!) to make this one, you can buy fabrics, if you like ;)

Now pin in place ears and sew them.
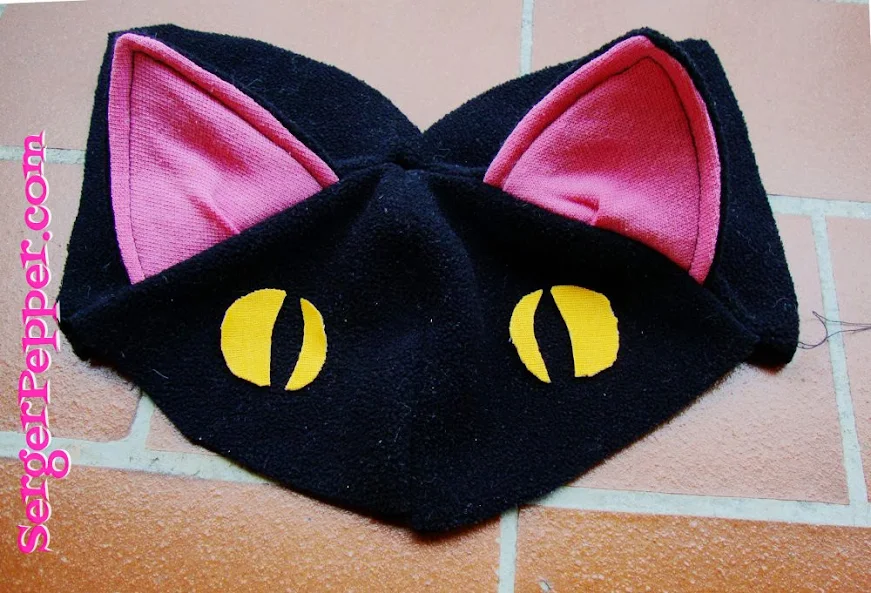
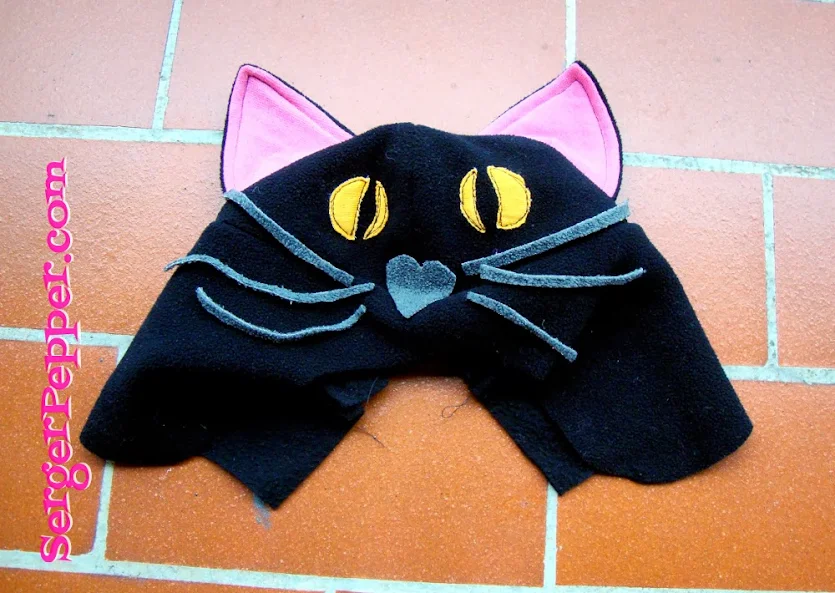
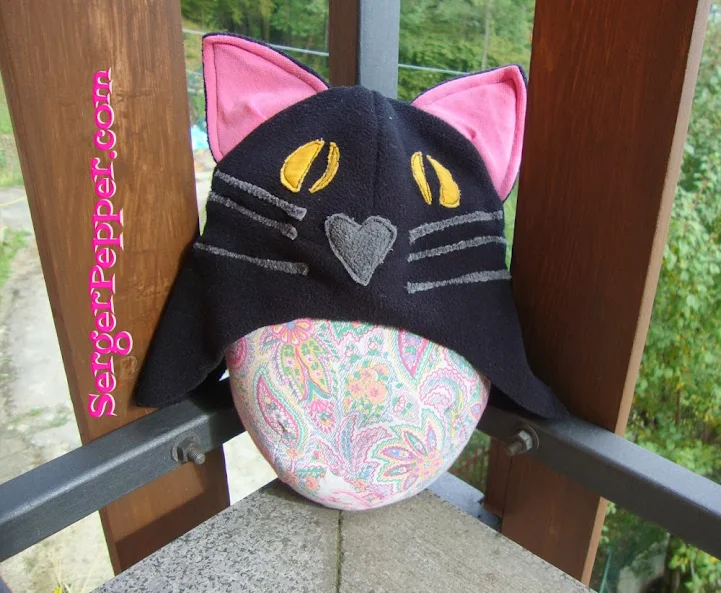
Ta-Daaa!
 Now, into the lining and braided cords: cut the pieces, accordingly to the pattern instructions.
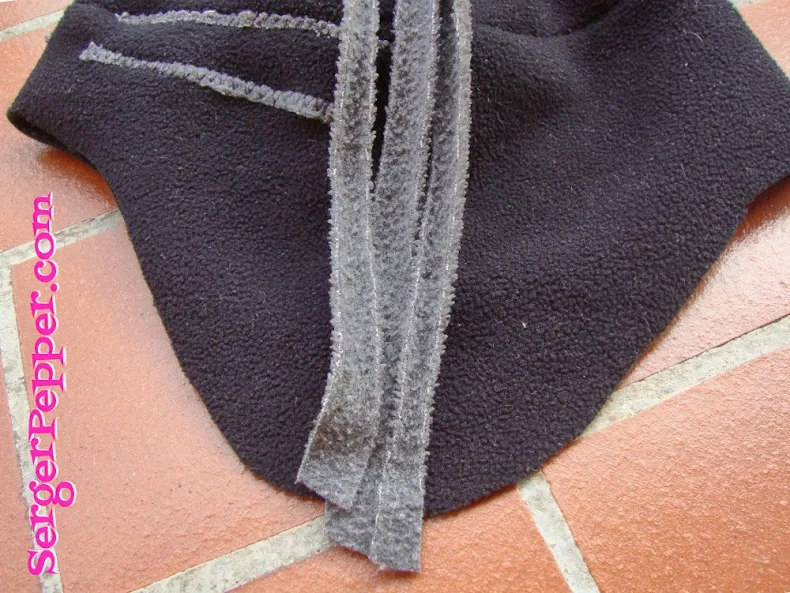
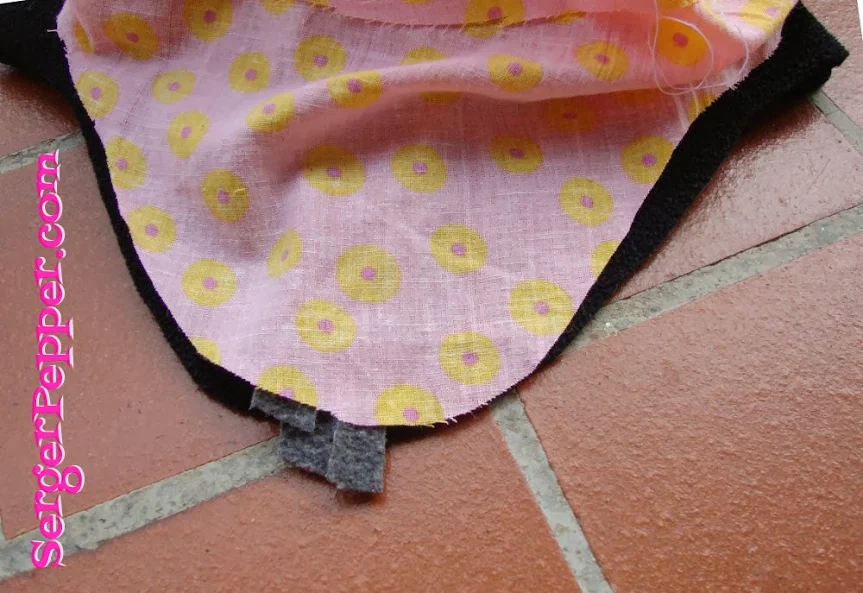


 Now topstitch all around to be sure the lining isn't showing on the outside (just to be more sure you can sew a couple of handstitches on the top of the hat, and the lining won't go anywhere!).
Braid your cords and tie some knot on the very end (polar fleece is nice for this kind of things, it won't slide!)
Now you can put it on the head you've sewn it for (or on your ham if you wanna take some pics) and look at him/her smiling (ehm... the ham isn't technically smiling, is it?)

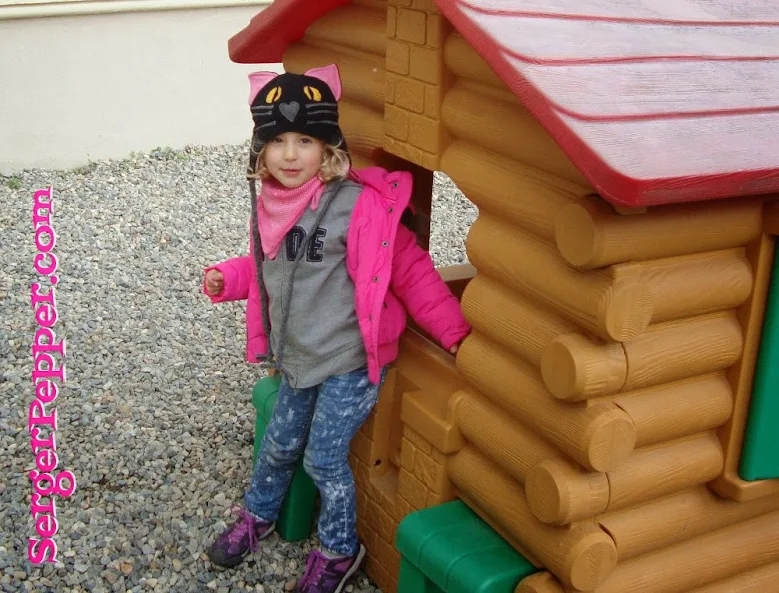 I hope you like this project, if you use it, please share it on Serger Pepper flickr shared board!!!
MammaNene @ SergerPepper


