
My daughter has a lot of hair and because of this we have a lot of hair bows and accessories. Which is just fine, accept for the fact that I have to find a place to store them.
I got tired of trying to keep them in a drawer or tin. Instead, I thought why not make my own diy hair bow holder.

I decided the best way to find what bow we want is by displaying them. I also wanted them to be able to hang on the wall. I've got loads of art canvas for making reverse canvas projects and other fun crafts. I figured why not make some art with these cute little girl bows as well.
I got tired of trying to keep them in a drawer or tin. Instead, I thought why not make my own diy hair bow holder.

This post contains affiliate links to products I recommend. I do make a portion off any you may purchase. See full disclosure here.
I decided the best way to find what bow we want is by displaying them. I also wanted them to be able to hang on the wall. I've got loads of art canvas for making reverse canvas projects and other fun crafts. I figured why not make some art with these cute little girl bows as well.
How to Make a DIY Hair Bow Holder
Materials Needed
- 8 x 10 Art Canvas - you can use a larger size as well
- Rick Rack or Ribbon
- Hot Glue Gun
- Hot Glue

Step 1
Collect your materials. I used some great vintage Rick-Rack that I had on hand, but you can use ribbon. I'd suggest a grossgrain ribbon versus satin.
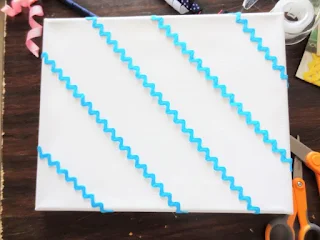
Step 2
Start by measuring your rick-rack from the back side of the canvas to the opposite side. Space each section of rick-rack 1.5-2" apart to allow for space between bows. Mark where each ribbon should be place with a marker on the back of the canvas.

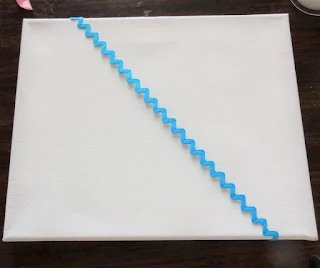
Step 3
Glue the end of the rick-rack to the back of the canvas on both sides. Make sure to pull the rick-rack tight so that it won't sag when you add the bows.

Step 4
Add your bows and hang it up!
Now you have some very fun and colorful art to hand in your room on your own DIY hair bow holder! If you are in need of some great hair accessories check out our great leather hair accessories or a list of over 30+ DIY hair accessories.


